Start With the Product Instructions, Not a Universal Recipe
Reconstitution means adding a specified diluent to a lyophilised product so it reaches a defined concentration and appearance. The safest workflow begins with the exact vial, supplied insert and lot-specific certificate of analysis. Different formulations of the same peptide may use different diluents, volumes, storage periods and discard rules.
For example, the FDA-approved tesamorelin formulations EGRIFTA WR and EGRIFTA SV use their supplied diluents and have formulation-specific instructions. A generic “use 3 mL of BAC water for every peptide” rule must never override a labelled product instruction. [1]
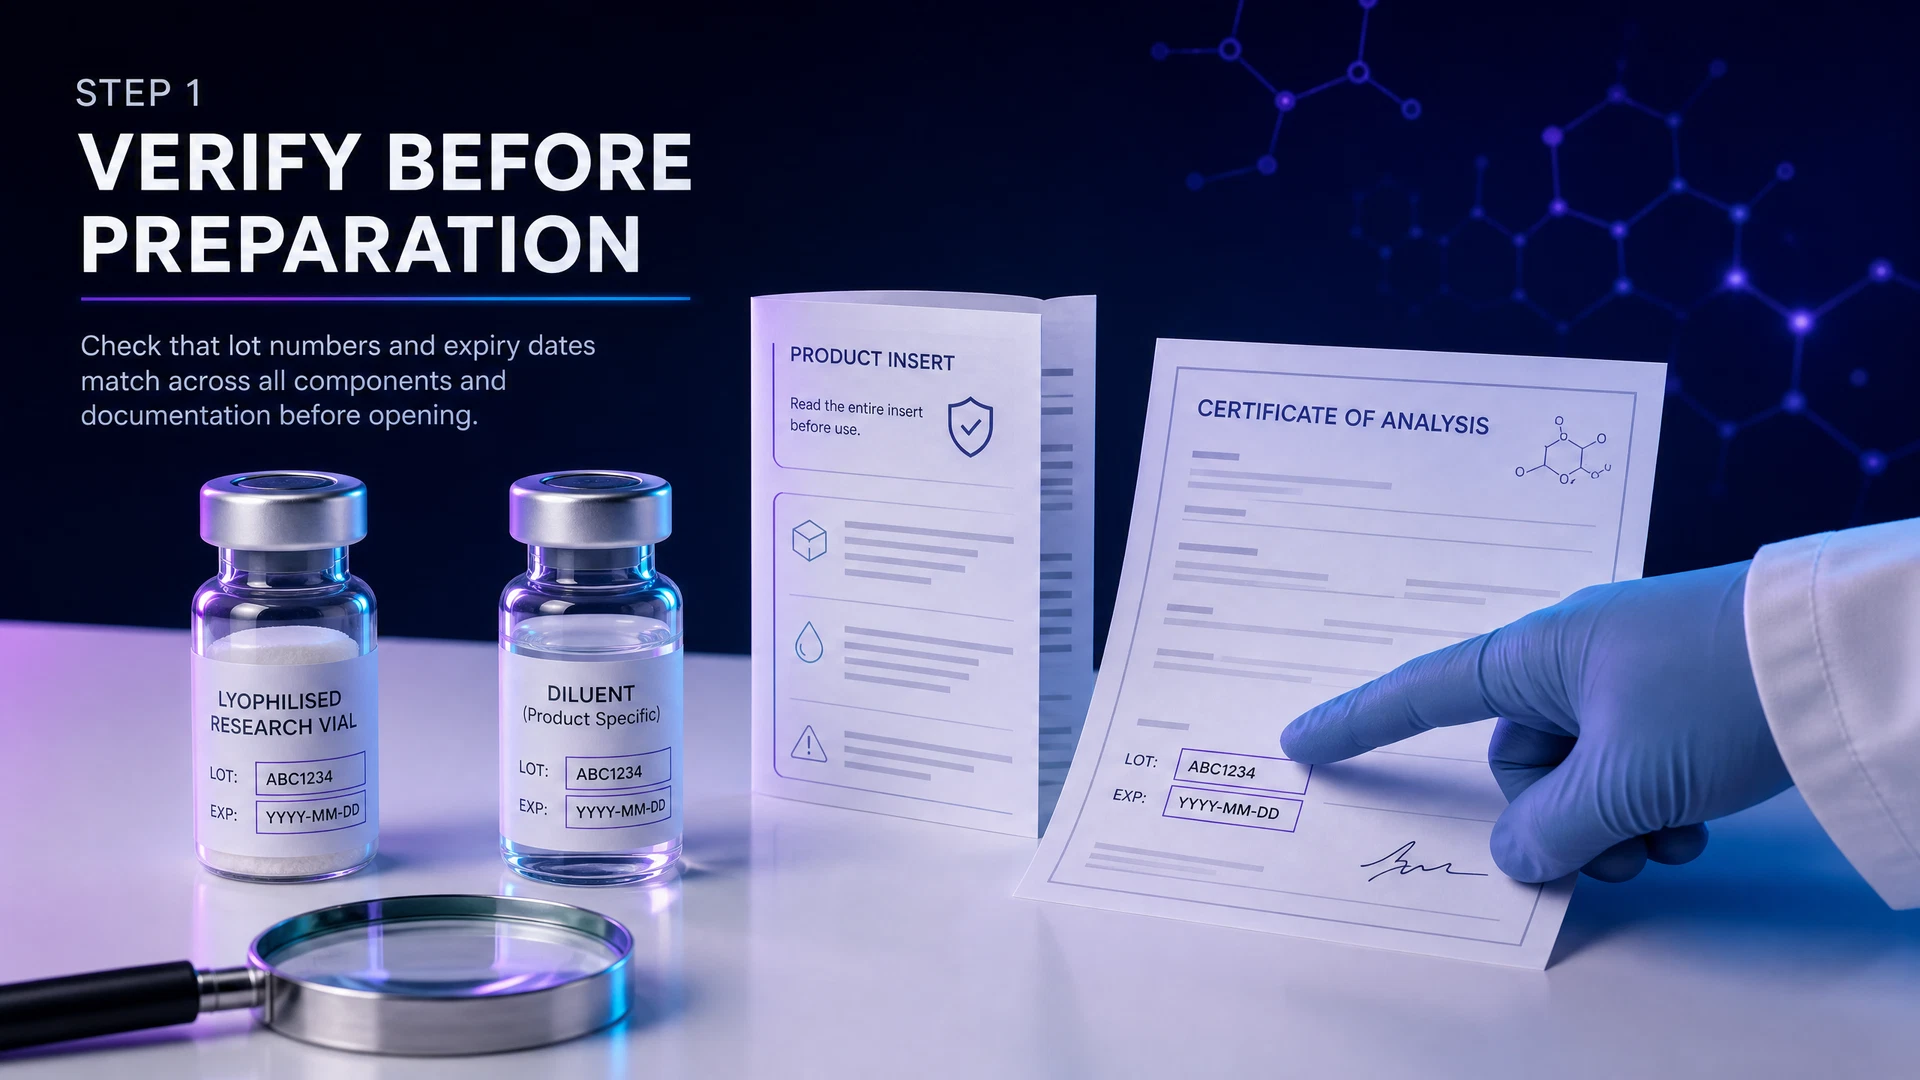
Step 1: Identify the Product and Required Diluent
Confirm the exact product name, vial strength, batch, expiry, storage condition and intended research application. Find the specified diluent and volume in the supplied insert, technical datasheet or COA. If the documentation is missing or contradictory, stop and contact the supplier.
Use bacteriostatic water only where the product protocol specifies it. Where the site's standard research protocol calls for approximately 3 mL per compatible peptide vial, a 10 mL bacteriostatic-water vial may offer better value; this purchasing guideline is not a universal chemistry rule.
Step 2: Inspect the Unopened Vial and Diluent
Check for a cracked vial, damaged seal, missing label, moisture ingress, unusual colour, altered lyophilised cake, expired diluent or compromised packaging. Do not proceed with damaged or questionable materials. Allow refrigerated material to equilibrate only as the product instructions permit, while keeping the container closed to reduce condensation risk.
Step 3: Prepare a Clean, Organised Workspace
Wash hands, clean the work surface and gather the exact sterile equipment required by the protocol. Keep food, drinks, airflow and unnecessary handling away from the workspace. Disinfect each rubber stopper with a separate alcohol swab and allow it to air-dry; do not touch the stopper after cleaning.
A 1 mL (100-unit) insulin syringe with a 27–31G needle can transfer up to 1 mL per draw. If the required diluent volume is greater than 1 mL, use the correct sterile transfer device or multiple fresh transfers according to the product instructions rather than exceeding syringe capacity.
Step 4: Measure and Transfer the Specified Diluent Slowly
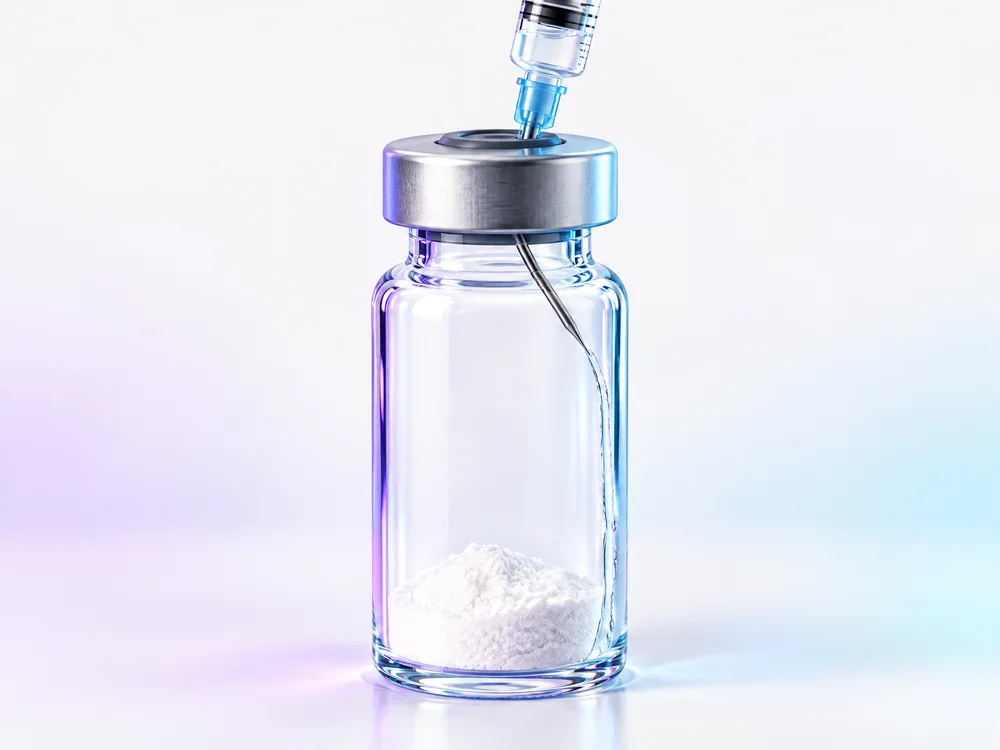
Measure the exact volume stated by the product protocol. Where the product's instructions permit wall-side transfer, direct the liquid gently down the inside glass wall rather than forcefully onto the lyophilised cake. The first illustration shows the liquid path, not a universal volume or diluent. A slow transfer can limit foaming and localised mechanical stress. Keep the transfer device sterile and do not exceed its capacity.
Step 5: Allow the Product to Dissolve as Directed
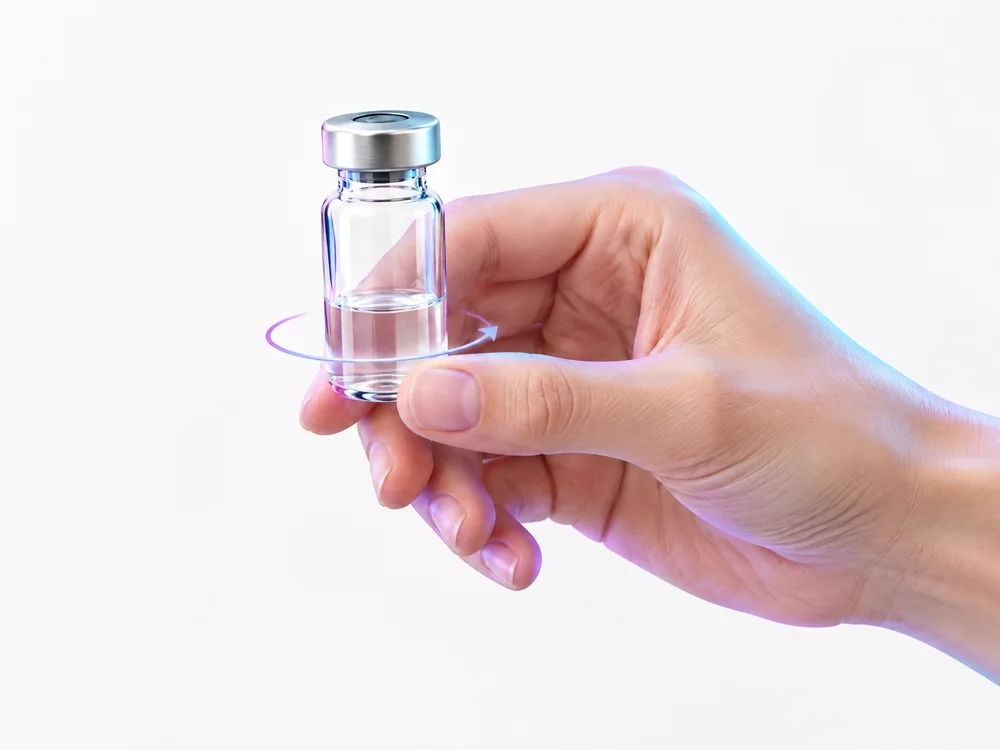
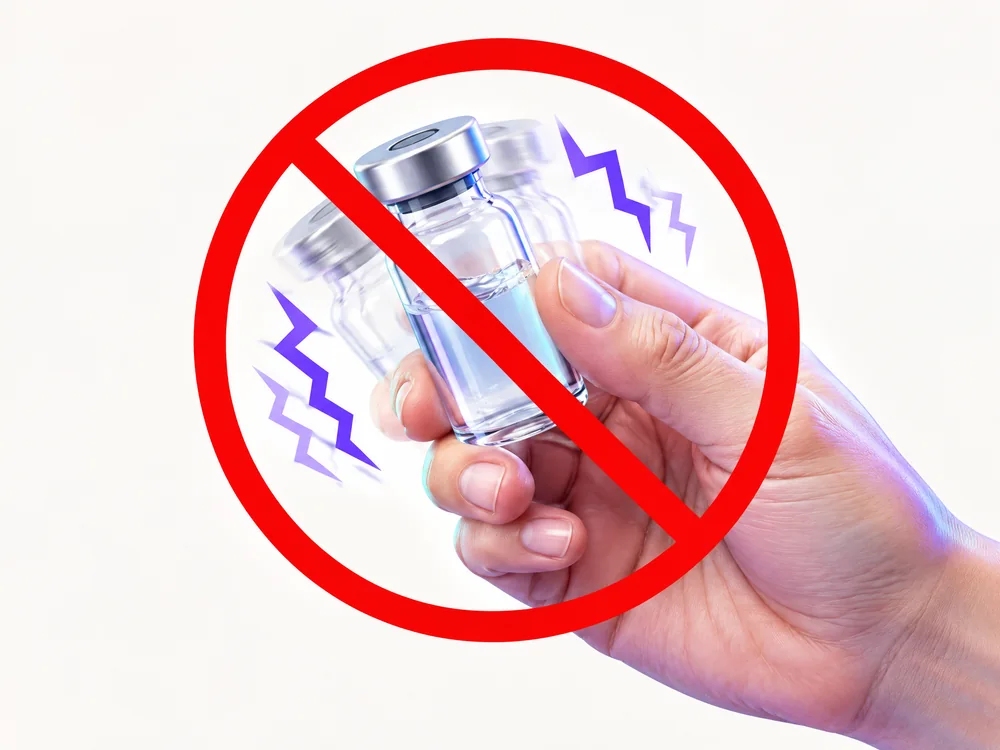
Follow the exact product's mixing method and standing time. When the instructions specify a gentle swirl, move the vial slowly in a small circle; do not shake it. EGRIFTA WR is one concrete example: its manufacturer directs gentle swirling until the powder dissolves completely, expressly says not to shake, and requires a clear, colourless result. That instruction is specific to EGRIFTA WR and cannot be assumed for another formulation. [2]
Do not add heat, an unvalidated solvent or extra agitation in an attempt to speed up or rescue dissolution. Research-peptide dissolution time and suitable solvents vary by sequence, formulation and lot. [3]
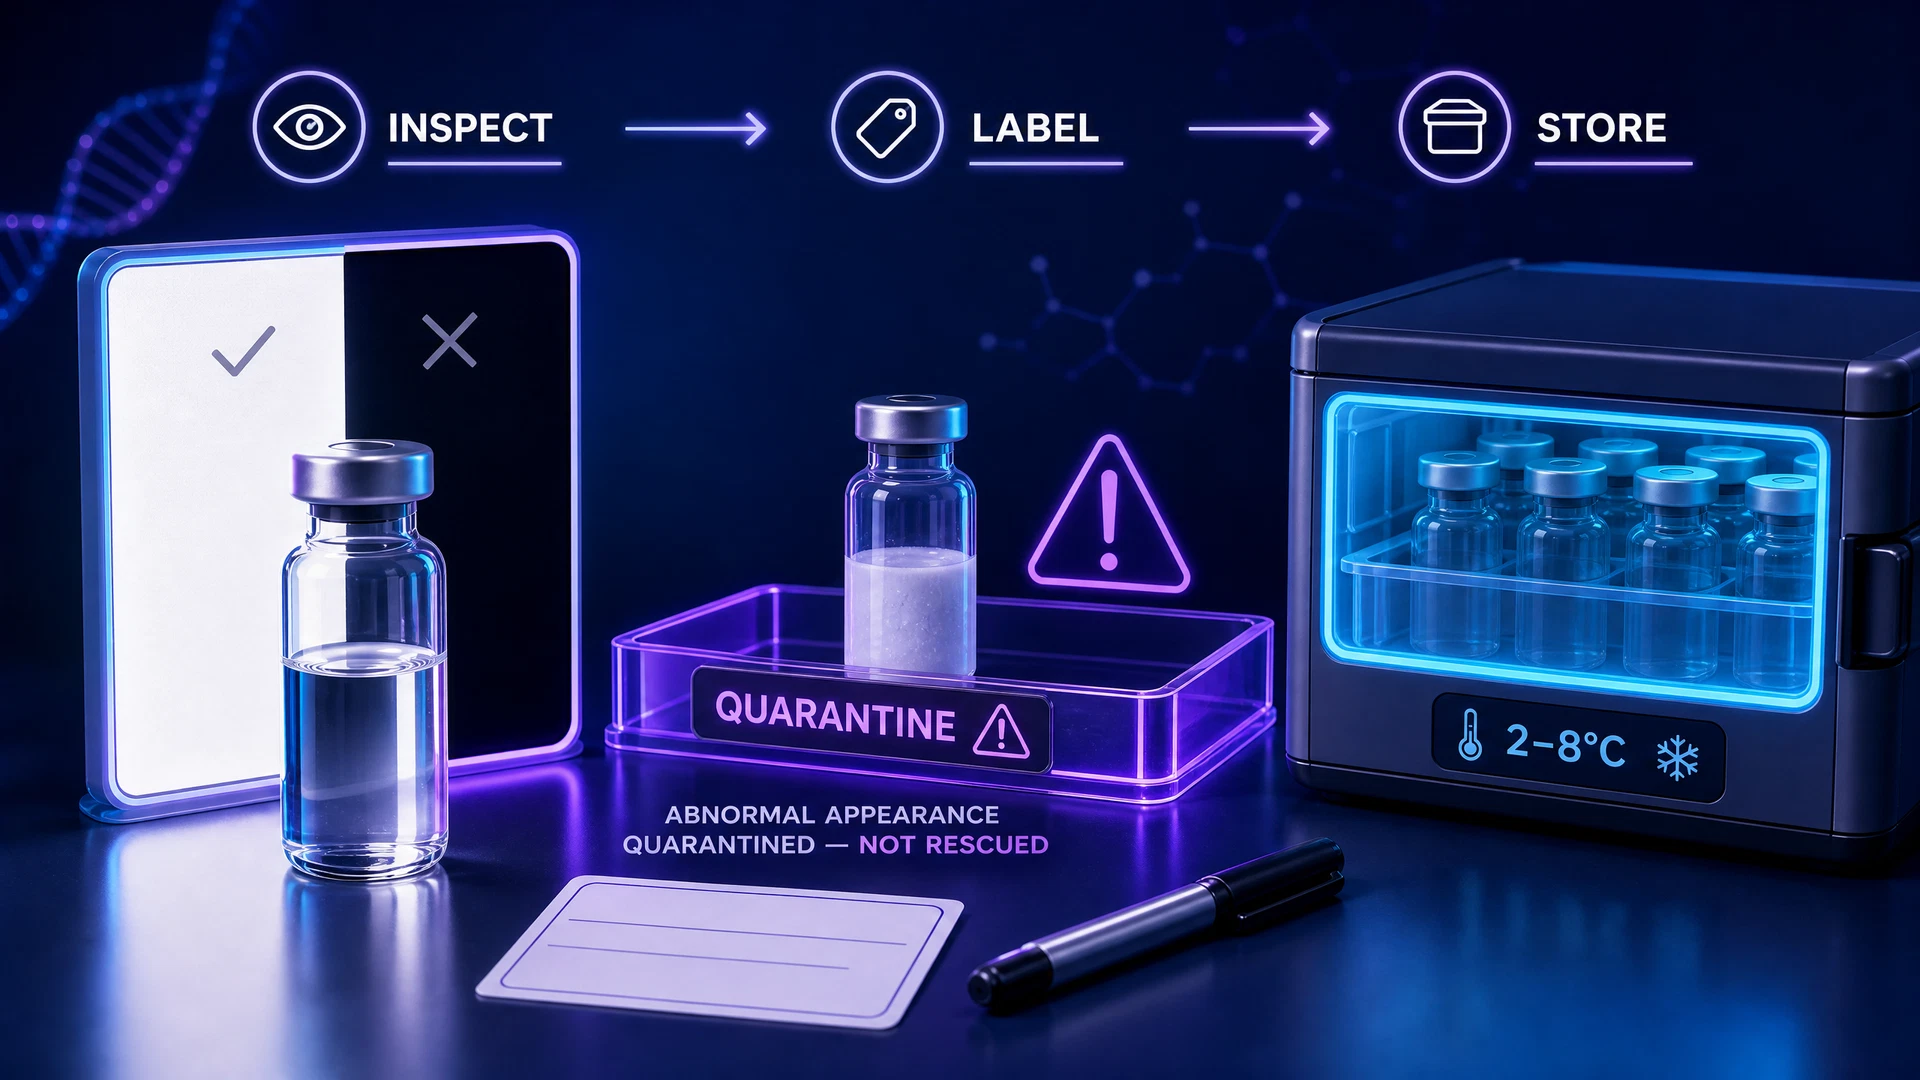
Step 6: Inspect Against Light and Dark Backgrounds
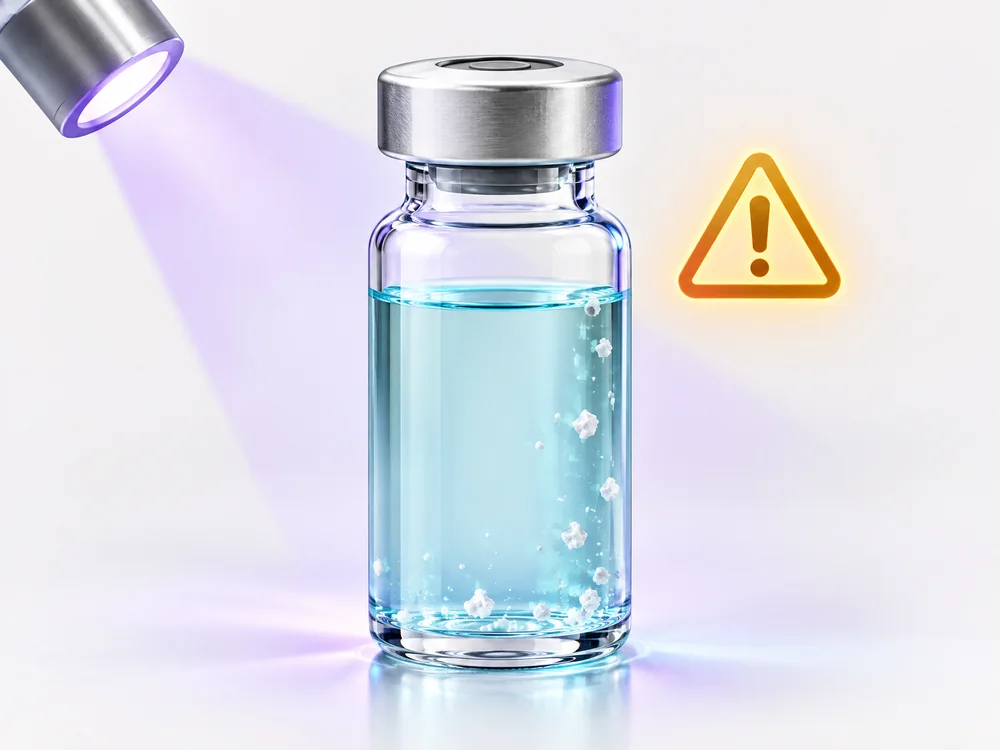
The fourth illustration shows small specks still visible in the vial. If material is still dissolving during the product-specified mixing or standing period, follow that permitted time and method, then inspect again before any use or storage decision. If a preparation expected to be clear still contains particles or undissolved material after the specified period, do not use it. Quarantine the vial, document the lot and contact the supplier or a qualified professional. Do not put a partly dissolved vial in the refrigerator as a way to "finish" mixing, or try to rescue it with shaking, heat, filtration or a different solvent.
Cloudiness, clumps, discolouration and particles can have several causes that appearance alone cannot diagnose. A different pH cannot prove sterility or safety. [4]
Step 7: Label, Store and Apply the Correct Discard Date
Only after the solution meets the expected product-specific appearance should its storage instructions be applied. Label the vial with product, strength, diluent, volume, calculated concentration, preparation date and discard date. Refrigeration is not a universal next step: EGRIFTA WR's manufacturer explicitly says not to refrigerate its mixed formulation. Other products may require refrigeration. Follow the temperature and light instructions for the exact formulation; do not infer a generic 28- or 30-day refrigerated life. [2]
Concentration and U-100 Syringe Mathematics
The calculation is:
Concentration (mg/mL) = vial content (mg) ÷ diluent volume (mL)
Volume required (mL) = target amount (mg) ÷ concentration (mg/mL)
U-100 units = volume (mL) × 100
Enter the units exactly as printed on the vial. A common error is entering 5,000 in a field labelled mg when the vial contains 5 mg or 5,000 mcg; that produces a concentration 1,000 times too high and can make the displayed syringe volume round toward zero.
Stop Conditions
| Finding | Action |
|---|---|
| Wrong or unknown diluent used | Stop; do not guess compatibility or recalculate alone. |
| Wrong volume added | Quarantine and obtain product-specific professional advice before deciding whether the preparation is usable. |
| Persistent cloudiness, clumps, gel, fibres or colour change | Do not use; photograph and contact the supplier. |
| Cracked vial, loose stopper or damaged seal | Do not use. |
| Uncertain storage history or prolonged warm exposure | Do not assume visual clarity proves potency or sterility. |